Sunday, January 6, 2013

Crock Pot Potato Soup


Well, I'm sick again... I guess that's what happens when you work at a doctor's office! You know how it is when you're not feeling well... especially when you have things you have to do during the day. I was going to be out all day, so I planned ahead and used my lovely crock pot. I wanted something creamy and warm so I decided on a cheesy potato soup. Check out this quick and easy deliciousness.
First, I cut up the potatoes and threw them in.
Cube the potatoes

Add bouillon cubes, garlic, salt, pepper, and water.
Add chopped onion and 1/4 half and half.
OOPS! Almost forgot the bacon!


Pop on the lid, and cook on low for 6 hours or so.
6 hours later, doesn't look amazing yet, but don't worry!
Give the immersion blender a whir.
Add cream cheese and cheddar.
And some hot sauce for good measure.

Crock Pot Potato Soup
* 7 potatoes, cubed
* 1 onion, chopped
* 3 cubes chicken bouillon and 3c water
(You can use 3c chicken broth instead if ya have it.)
* 1/4c half and half
* 3oz cream cheese
* 1/2c cheddar cheese (plus more for topping)
* Franks hot sausce to taste
* Scallions for topping

*Cube potatoes and onion and put in slow cooker. Add chicken broth or bouillon and water. Add half and half, then cook on low for 6-8 hours depending on your crock pot. When you come back to it, blend it a little (either use an immersion blender or scoop some out and use a food processor or blender). I like to leave some chunks of potatoes so you have something to bite in to. Then add cream cheese and cheddar and stir to combine. It should just take a few minutes for it to melt. Once it is thoroughly mixed in, add just a little hot sauce. Then top it off with more delicious cheddar and scallions and enjoy the creamy goodness.


Sunday, December 30, 2012

Breakfast Sandwiches


Ah, Northeastern Ohio...how you toy with us...chilly, warm, cold, warm, hot, then arctic freezing weather- and all in one month! You just can't make up your mind! Now last winter was very mild, hardly a snowstorm, but this year it seems like we will have a more typical winter. But what does all this have to do with breakfast sandwiches??
My husband and I very rarely get a day off from everything. Whether it be work or volunteering, we usually have somewhere we have to get up and go in the morning. Needless to say we don't often sit down and eat breakfast together. So when we did get a snow day yesterday, we took advantage of it! Nate went to the movie store and I started on breakfast. Several ideas crossed my mind. First I thought about this tasty 'Puffy Oven Pancake' I made a few years ago. It's extremely easy and very good, but Nate isn't a huge sweet eater (weirdo!), so then I was thinking of sausage gravy and biscuits but we had eaten that recently, so I decided on breakfast sandwiches.
As I perused Pinterest for easy biscuit recipes I happened on a recipe from Taste of Home for 'Angel Biscuits' that sounded worth trying, so I did (with a few changes).

Angel Biscuits inspired by Taste of Home
* 1 1/4oz package dry active yeast
* 1/4c warm water
* 1c warm buttermilk
* 2 1/2c all purpose flour
* 1tsp salt
* 1tsp baking powder
* 1/2tsp baking soda
* 1/2c room temperature butter (or shortening)
Combine the yeast and warm water. Leave it alone for 5 minutes and combine dry ingredients. Add buttermilk to yeast mixture and leave it alone again (yes I know that's hard!) Cut in the butter or shortening with a pastry blender (or just use a fork like I did). Combine until coarse: so there are no big hunks of butter. Next add your liquid ingredients and just combine.
Preheat oven to 450°. Roll dough out onto a floured surface and gently knead just a few times. Roll to a medium thickness, like the length of your thumbnail. Use a biscuit cutter, a cup, or just free form your biscuits and then place on a lightly greased cookie sheet or one covered with parchment paper. Bake for 8-10 minutes until golden brown.
Now the rest of the fun begins... I had a few pre-made breakfast goodies that I used to pull these sammies together, I cooked up several eggs over-medium (the sandwiches could be messy since we were eating at home) and of course CHEESE! Nate got a bacon, egg, and cheese biscuit, and I made myself a sausage, egg, and cheese biscuit. The biscuits were so good; very light and flaky. They also go great with a little bit (or a lotta bit) of strawberry freezer jam on them.
What about you? What would you make for a stay at home breakfast or brunch?? Comment below!


Tuesday, December 11, 2012

Pop Tarts - my way


Yum! :)


I know, they're bad for me, and perhaps they don't actually taste that great, but I do admit to giving in to a hankering for a pop tart occasionally.

The original is a good go-to, a strawberry filling encased in flaky goodness with icing on top. And I looove the Hot Fudge Sundae pop tart. It's pretty addictive.  But guess what?! It's is super easy to make homemade pop tarts! They are ridiculously easy and I think they would even be a fun little dessert for parties because they're little hand-held novelties.

All you need is some jam (or whatever delectable filling you're in the mood for...nutella anyone?) And pie crust. (I use store bought.) 

Just jam and pie crust!

You can cut your crust into nice even pieces, or you can be lazy like me and just cut them into whatever shapes your crust normally forms.  I cut mine big enough to fold over instead of doing separate pieces for top and bottom.
Add a dollop of jam in the middle and fold over. Crimp edges and bake at 425· (or whatever temp your crust is suggested to cook at) for 7 or 8 minutes.
Now, if u wanna get really fancy, you can make a glaze or drizzle with melted chocolate. That's it! So easy and tasty! Hope you try these fun little treats!


Add a dollop of jam (no, not daisy!)


Fold your crust in half over top of the filling.


Crimp the edges with a fork to make 'em pretty.

You could make them all uniform in size...

But I wanted to use all my crust up, so I have some odd-shaped ones.


Nice and crispy out of the oven
Yum! :)

Monday, November 26, 2012

Homemade Chicken and Noodles


So Black Friday has come and gone and now we have a computer again! Woop, woop!
Yes, we went without a computer for like 2 1/2 months. I don't know how I ever survived! haha :) Now I have been able to start some blogs on my cell phone, but I can't really figure
out how to get my pictures where I want them, so I am going to try to get back on track with blogging. I forgot how much I enjoy it! I hope you're excited because here is a great post... Homemade noodles! Y-U-M, yum!


My mom makes the best homemade chicken noodles; totally crave worthy. One of my secret talents (learned from her of course) is that I can make homemade noodles too. Pretty cool, huh?

However...it's not very often that they do come out of my kitchen because they're messy! Not really difficult, just messy. Sometimes I use my mom's top secret noodle recipe, sometimes I will use the recipe out of my Better Homes and Gardens cookbook (everyone should have one, it has all the basics that you might need). And as a last resort, if I don't make my own noodles, I will use 'kluski' noodles from the grocery store.


So here is how I do it!

*First, the broth...
                 4 Chicken Breasts (or whatever cut you want to use)
                 Water (enough to cover + 2 inches)
                 1 Tbsp Salt
                 1 Tbsp Minced Garlic
                 1 Tbsp Mrs. Dash
                 1/2 Tbsp Pepper
                
I put about 4 chicken breasts in a stock pot. Cover with water plus an extra 2 inches or so. Add salt, garlic, pepper, and generic Mrs Dash. Heat on medium-high heat until boiling. Reduce to medium and cook for at least a half hour until chicken is cooked. Skim the water to get the gross stuff off the top. Remove chicken to a plate and shred apart with 2 forks, then return to the pot. Reduce heat to medium-low and work on your noodles.


Water, Chicken Breasts, Salt, Pepper, Garlic, Mrs. Dash
Skim the water. Yes, I know, EW...

* Now the noodles:
                  2 1/2c. all purpose flour
                  1 tsp. dried Italian seasoning (or better yet, 1/4 c. fresh herbs if you have them)
                  2 beaten eggs
                  1/3 c. water
                  1 tsp. cooking oil

Mix dry ingredients (use fresh herbs if you have them!). Add liquid ingredients and combine. Cover your table with a little flour and place your dough on it. Knead for 5-10 minutes until fairly smooth and less sticky. (You may need to add a little more flour.) Cover and let rest 10 minutes. Roll out with a rolling pin to 1/16th of an inch thick. Now my mom always rolled these like a jelly roll and sliced this way. I have trouble with mine sticking if I do that, so I just roll flat and use a pizza cutter make my noodles. Then, just let them hang out a bit. Some people let their noodles completely dry, I don't have that much patience. And it's never seemed to affect my noodles negatively.

Get ready to knead
 

Roll it out thin (1/16th of an inch)

See, thin


Don't cut directly on the table unless you're trying to add character!


*Now to put it all together. Increase your heat again and get your broth to boil. Add noodles a handful at a time so they don't become one giant lump. Once they are all incorporated, return to simmer.

 
If after a few minutes your broth is not thickening up, don't panic! There are a couple of things we can do... In fact that I had to do this time (I used too much water when boiling the chicken breasts). In a small bowl (or cup or whatever) Mix a little corn starch with some water and whisk in with the soup. If that doesn't do the trick, there is a sneaky little last ditch effort you can do. I call in a favor from my friend Campbell.... yes, that's right, toss in a can, or part of a can, of cream of chicken soup. You've done everything else yourself, so don't let it get ya down if you need to do this. No one has to know! ;). I enjoy these best on top of a nice scoop of mashed potatoes to add to the carb-y deliciousness, but it can be served as is.

Now that the weather is cold and days are short, it's a perfect opportunity to learn how to make homemade noodles. You can use them so many ways, but this is my favorite. Let me know if you have any questions or if I need to add more detail. Hope you enjoy!


That's right, look at that creamy goodness!


Sunday, August 19, 2012

Quick Tip #1(breadcrumbs)

I didn't really have time to do a whole recipe today because I spent all day making food, i did make a ton of stuff! Avocado chicken salad for lunches, breakfast burritos, salmon, asparagus, parmesan roasted potatoes, peach cake/crumble, AND no bakes. But I did want to post a little something.

I saw a tip recently about using up what I like to call the "butt" of your loaf of bread. I personally don't mind them, but usually it's Nathan who is eating the sandwiches...and he doesn't really care for them. Now he'll eat 'em if I send 'em (he's sweet like that), but I usually try not to :)

Any-who... I was already baking, so I followed the tip I saw and threw those bad boys in the oven. I didn't even put them on a cookie sheet! About 5 minutes later (maybe 10, I didn't really time it), I pulled them out and let them cool.

Then I threw them in the food processor with some garlic powder, Italian seasoning, and a shake of S&P. Once it was done, I put them in a (mostly) empty parmesan cheese can. I had a few half empty boxes of breadcrumbs already in the pantry so I mixed them in and shook it up too. SO, to review:
-bake the bread slices
-grind up in food processor or blender with garlic, Italian seasoning, salt, and pepper.
-put in your desired container.

That's all folks! Hope you like it. Comment if you would like more quick tips!

Friday, August 10, 2012

Crispy Potato Rounds

I saw these little gems on Pinterest a while back and have been playing with different combos. They are so easy and really tasty! I don't normally give much attention to recipes that are lengthy, but the only length to this recipe is the cook time. The prep is very minimal. But one caveat: you don't want to rush the cook time really. I did that with the taco rounds. The flavor was good, but texture was lacking because they weren't crispy enough. Here are the combos I have tried so far:

1) Cheddar & Bacon


2) Ham & Swiss


3) Taco   (No pic yet, sorry! Like I said, we rushed them!)

It's actually ridiculously easy to make these. You'll see, I promise!

* Wash potatoes. (I use red skinned, but I'm sure other kinds would work too.)

* Slice potatoes into circles about 1/4 of an inch thick. I use 3 or 4 potatoes depending on size to fill a cookie sheet. Place on cookie sheet.


Slice into small rounds then place on cookie sheet

* Drizzle potatoes with olive oil. (alternatively you could put the potatoes in a bowl and toss with olive oil before putting on cookie sheet, but I have no dishwasher, so the less dishes the better!)

* Bake @ 400 for 20 minutes. Flip potatoes over, drizzle with a li'l more oil (but not if you already tossed them in oil), and bake 20 min more.


See, they're already starting to get crispy!

* Remove from oven and top with your choice of toppings. Put back in oven for just a few more minutes to melt the cheese.


Voila! A super easy, super versatile, super tasty side dish.


Ham & Swiss with Bacon
Bacon, Cheddar, and Scallions


Sunday, July 15, 2012

Strawberry Upside Down Cake

I have made this dessert 3 times now and it really seems like it gets better every time. It's fairly easy, pretty, and quite delicious.


The original recipe is here at allrecipes.com.


Here is my version. It's not too different actually, only a few minor changes.


StRaWbErRy UpSiDe DoWn CaKe
*1 white cake mix (confetti cake would be pretty too) prepared as directed, but not baked
*1 lb. (at least!) of strawberries, the more the merrier in my book!
*1 large box strawberry jello
*3 cups mini marshmallows
*1 container whipped cream


Preheat oven to 350 degrees.


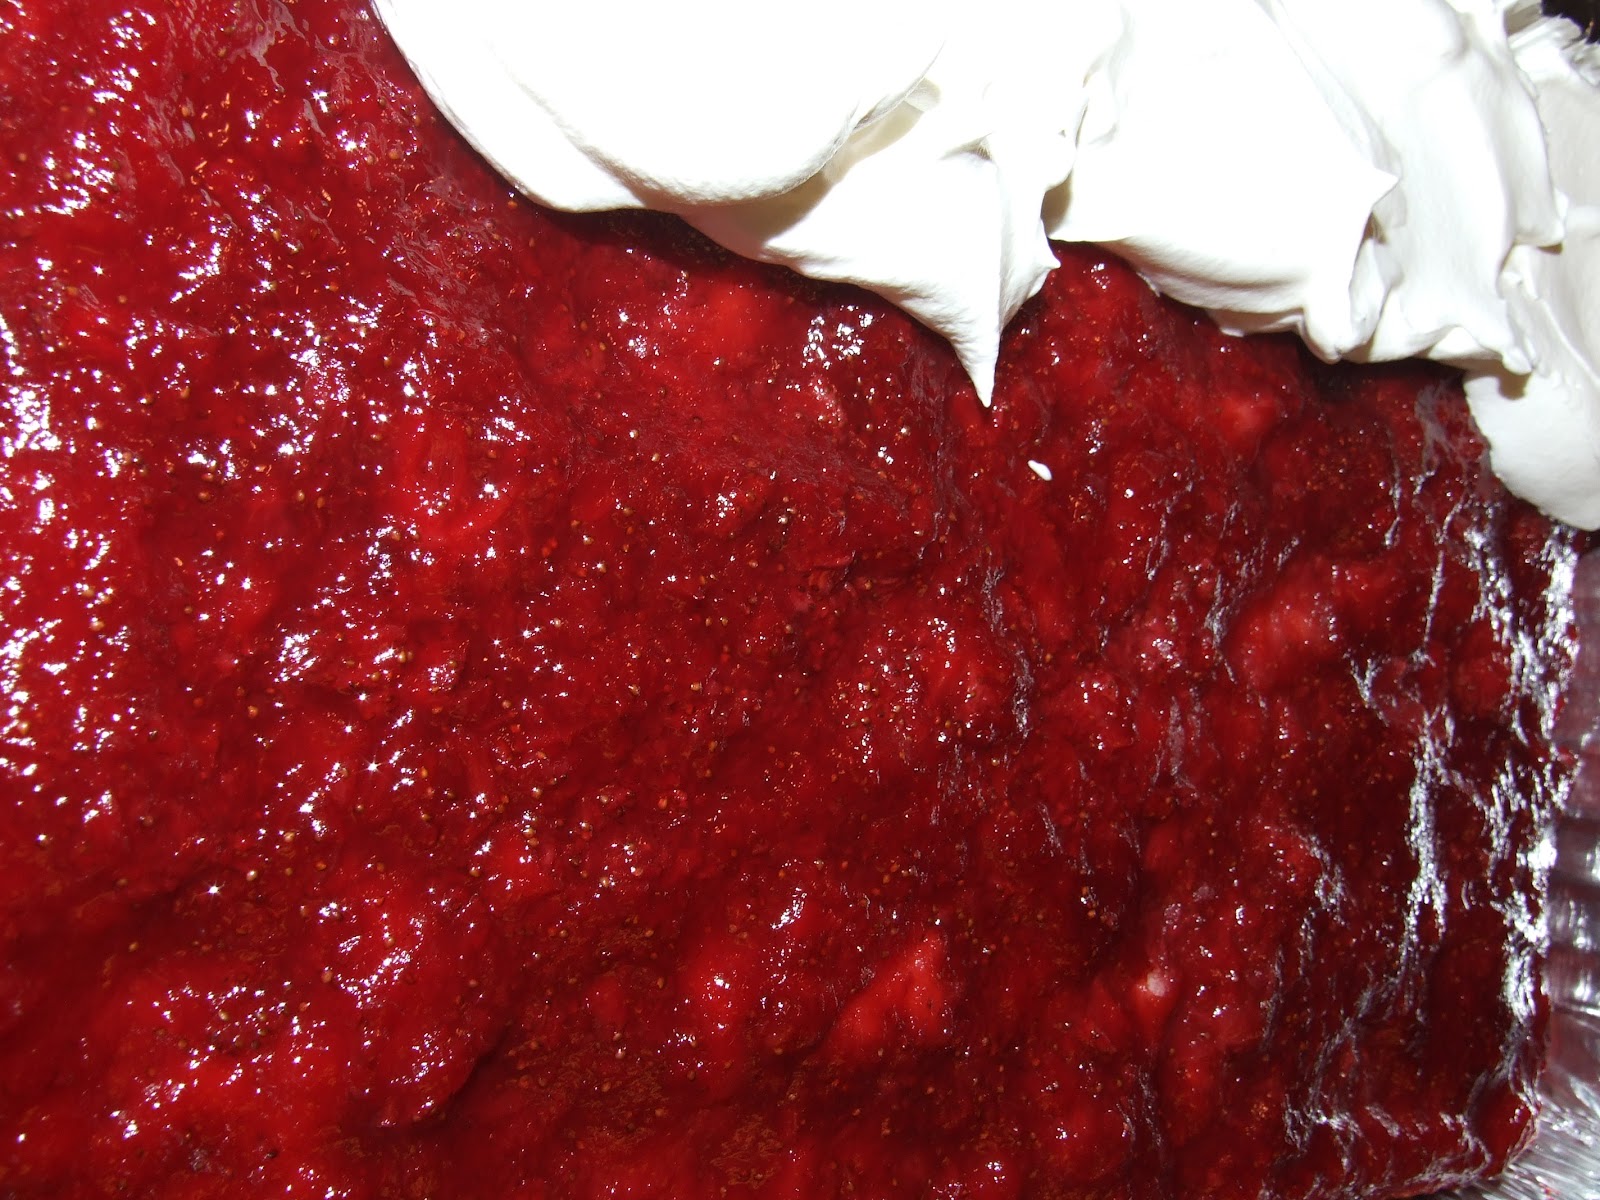
Take leaves off strawberries. Mash berries or pulse in a blender. Don't blend too much though: you do want some bigger pieces of berry left. Pour into a 13x9 pan. Spread evenly over bottom of pan.


Sprinkle dry jello mix over top of the crushed strawberries. Then top with marshmallows. (You don't really end up tasting the marshmallows, they kind of disintegrate, but they do add something nice to the texture). Pour cake batter on top of all this and bake for 40 or 50 minutes until a toothpick inserted in the center comes out with no cake batter on it.


When you pull the cake out of the oven, you'll want to flip it fairly soon or it will start to stick. First run a spatula around the outside edges. It's generally better to do it in one quick motion. Line the pan edges up nearest to you, and FLIP! If it doesn't look perfect, just give the pan a little jiggle and it should even things out.


Once the cake cools, spread with cool whip and refrigerate or freeze. This also covers any mistakes. :) Yummers! I also think this would be delicious with other fruits... blueberry, raspberry, even peach... If anyone tries it, you'll have to let me know!


It was almost gone before I could get a picture!