Tuesday, December 11, 2012

Pop Tarts - my way


Yum! :)


I know, they're bad for me, and perhaps they don't actually taste that great, but I do admit to giving in to a hankering for a pop tart occasionally.

The original is a good go-to, a strawberry filling encased in flaky goodness with icing on top. And I looove the Hot Fudge Sundae pop tart. It's pretty addictive.  But guess what?! It's is super easy to make homemade pop tarts! They are ridiculously easy and I think they would even be a fun little dessert for parties because they're little hand-held novelties.

All you need is some jam (or whatever delectable filling you're in the mood for...nutella anyone?) And pie crust. (I use store bought.) 

Just jam and pie crust!

You can cut your crust into nice even pieces, or you can be lazy like me and just cut them into whatever shapes your crust normally forms.  I cut mine big enough to fold over instead of doing separate pieces for top and bottom.
Add a dollop of jam in the middle and fold over. Crimp edges and bake at 425· (or whatever temp your crust is suggested to cook at) for 7 or 8 minutes.
Now, if u wanna get really fancy, you can make a glaze or drizzle with melted chocolate. That's it! So easy and tasty! Hope you try these fun little treats!


Add a dollop of jam (no, not daisy!)


Fold your crust in half over top of the filling.


Crimp the edges with a fork to make 'em pretty.

You could make them all uniform in size...

But I wanted to use all my crust up, so I have some odd-shaped ones.


Nice and crispy out of the oven
Yum! :)

Monday, November 26, 2012

Homemade Chicken and Noodles


So Black Friday has come and gone and now we have a computer again! Woop, woop!
Yes, we went without a computer for like 2 1/2 months. I don't know how I ever survived! haha :) Now I have been able to start some blogs on my cell phone, but I can't really figure
out how to get my pictures where I want them, so I am going to try to get back on track with blogging. I forgot how much I enjoy it! I hope you're excited because here is a great post... Homemade noodles! Y-U-M, yum!


My mom makes the best homemade chicken noodles; totally crave worthy. One of my secret talents (learned from her of course) is that I can make homemade noodles too. Pretty cool, huh?

However...it's not very often that they do come out of my kitchen because they're messy! Not really difficult, just messy. Sometimes I use my mom's top secret noodle recipe, sometimes I will use the recipe out of my Better Homes and Gardens cookbook (everyone should have one, it has all the basics that you might need). And as a last resort, if I don't make my own noodles, I will use 'kluski' noodles from the grocery store.


So here is how I do it!

*First, the broth...
                 4 Chicken Breasts (or whatever cut you want to use)
                 Water (enough to cover + 2 inches)
                 1 Tbsp Salt
                 1 Tbsp Minced Garlic
                 1 Tbsp Mrs. Dash
                 1/2 Tbsp Pepper
                
I put about 4 chicken breasts in a stock pot. Cover with water plus an extra 2 inches or so. Add salt, garlic, pepper, and generic Mrs Dash. Heat on medium-high heat until boiling. Reduce to medium and cook for at least a half hour until chicken is cooked. Skim the water to get the gross stuff off the top. Remove chicken to a plate and shred apart with 2 forks, then return to the pot. Reduce heat to medium-low and work on your noodles.


Water, Chicken Breasts, Salt, Pepper, Garlic, Mrs. Dash
Skim the water. Yes, I know, EW...

* Now the noodles:
                  2 1/2c. all purpose flour
                  1 tsp. dried Italian seasoning (or better yet, 1/4 c. fresh herbs if you have them)
                  2 beaten eggs
                  1/3 c. water
                  1 tsp. cooking oil

Mix dry ingredients (use fresh herbs if you have them!). Add liquid ingredients and combine. Cover your table with a little flour and place your dough on it. Knead for 5-10 minutes until fairly smooth and less sticky. (You may need to add a little more flour.) Cover and let rest 10 minutes. Roll out with a rolling pin to 1/16th of an inch thick. Now my mom always rolled these like a jelly roll and sliced this way. I have trouble with mine sticking if I do that, so I just roll flat and use a pizza cutter make my noodles. Then, just let them hang out a bit. Some people let their noodles completely dry, I don't have that much patience. And it's never seemed to affect my noodles negatively.

Get ready to knead
 

Roll it out thin (1/16th of an inch)

See, thin


Don't cut directly on the table unless you're trying to add character!


*Now to put it all together. Increase your heat again and get your broth to boil. Add noodles a handful at a time so they don't become one giant lump. Once they are all incorporated, return to simmer.

 
If after a few minutes your broth is not thickening up, don't panic! There are a couple of things we can do... In fact that I had to do this time (I used too much water when boiling the chicken breasts). In a small bowl (or cup or whatever) Mix a little corn starch with some water and whisk in with the soup. If that doesn't do the trick, there is a sneaky little last ditch effort you can do. I call in a favor from my friend Campbell.... yes, that's right, toss in a can, or part of a can, of cream of chicken soup. You've done everything else yourself, so don't let it get ya down if you need to do this. No one has to know! ;). I enjoy these best on top of a nice scoop of mashed potatoes to add to the carb-y deliciousness, but it can be served as is.

Now that the weather is cold and days are short, it's a perfect opportunity to learn how to make homemade noodles. You can use them so many ways, but this is my favorite. Let me know if you have any questions or if I need to add more detail. Hope you enjoy!


That's right, look at that creamy goodness!


Sunday, August 19, 2012

Quick Tip #1(breadcrumbs)

I didn't really have time to do a whole recipe today because I spent all day making food, i did make a ton of stuff! Avocado chicken salad for lunches, breakfast burritos, salmon, asparagus, parmesan roasted potatoes, peach cake/crumble, AND no bakes. But I did want to post a little something.

I saw a tip recently about using up what I like to call the "butt" of your loaf of bread. I personally don't mind them, but usually it's Nathan who is eating the sandwiches...and he doesn't really care for them. Now he'll eat 'em if I send 'em (he's sweet like that), but I usually try not to :)

Any-who... I was already baking, so I followed the tip I saw and threw those bad boys in the oven. I didn't even put them on a cookie sheet! About 5 minutes later (maybe 10, I didn't really time it), I pulled them out and let them cool.

Then I threw them in the food processor with some garlic powder, Italian seasoning, and a shake of S&P. Once it was done, I put them in a (mostly) empty parmesan cheese can. I had a few half empty boxes of breadcrumbs already in the pantry so I mixed them in and shook it up too. SO, to review:
-bake the bread slices
-grind up in food processor or blender with garlic, Italian seasoning, salt, and pepper.
-put in your desired container.

That's all folks! Hope you like it. Comment if you would like more quick tips!

Friday, August 10, 2012

Crispy Potato Rounds

I saw these little gems on Pinterest a while back and have been playing with different combos. They are so easy and really tasty! I don't normally give much attention to recipes that are lengthy, but the only length to this recipe is the cook time. The prep is very minimal. But one caveat: you don't want to rush the cook time really. I did that with the taco rounds. The flavor was good, but texture was lacking because they weren't crispy enough. Here are the combos I have tried so far:

1) Cheddar & Bacon


2) Ham & Swiss


3) Taco   (No pic yet, sorry! Like I said, we rushed them!)

It's actually ridiculously easy to make these. You'll see, I promise!

* Wash potatoes. (I use red skinned, but I'm sure other kinds would work too.)

* Slice potatoes into circles about 1/4 of an inch thick. I use 3 or 4 potatoes depending on size to fill a cookie sheet. Place on cookie sheet.


Slice into small rounds then place on cookie sheet

* Drizzle potatoes with olive oil. (alternatively you could put the potatoes in a bowl and toss with olive oil before putting on cookie sheet, but I have no dishwasher, so the less dishes the better!)

* Bake @ 400 for 20 minutes. Flip potatoes over, drizzle with a li'l more oil (but not if you already tossed them in oil), and bake 20 min more.


See, they're already starting to get crispy!

* Remove from oven and top with your choice of toppings. Put back in oven for just a few more minutes to melt the cheese.


Voila! A super easy, super versatile, super tasty side dish.


Ham & Swiss with Bacon
Bacon, Cheddar, and Scallions


Sunday, July 15, 2012

Strawberry Upside Down Cake

I have made this dessert 3 times now and it really seems like it gets better every time. It's fairly easy, pretty, and quite delicious.


The original recipe is here at allrecipes.com.


Here is my version. It's not too different actually, only a few minor changes.


StRaWbErRy UpSiDe DoWn CaKe
*1 white cake mix (confetti cake would be pretty too) prepared as directed, but not baked
*1 lb. (at least!) of strawberries, the more the merrier in my book!
*1 large box strawberry jello
*3 cups mini marshmallows
*1 container whipped cream


Preheat oven to 350 degrees.


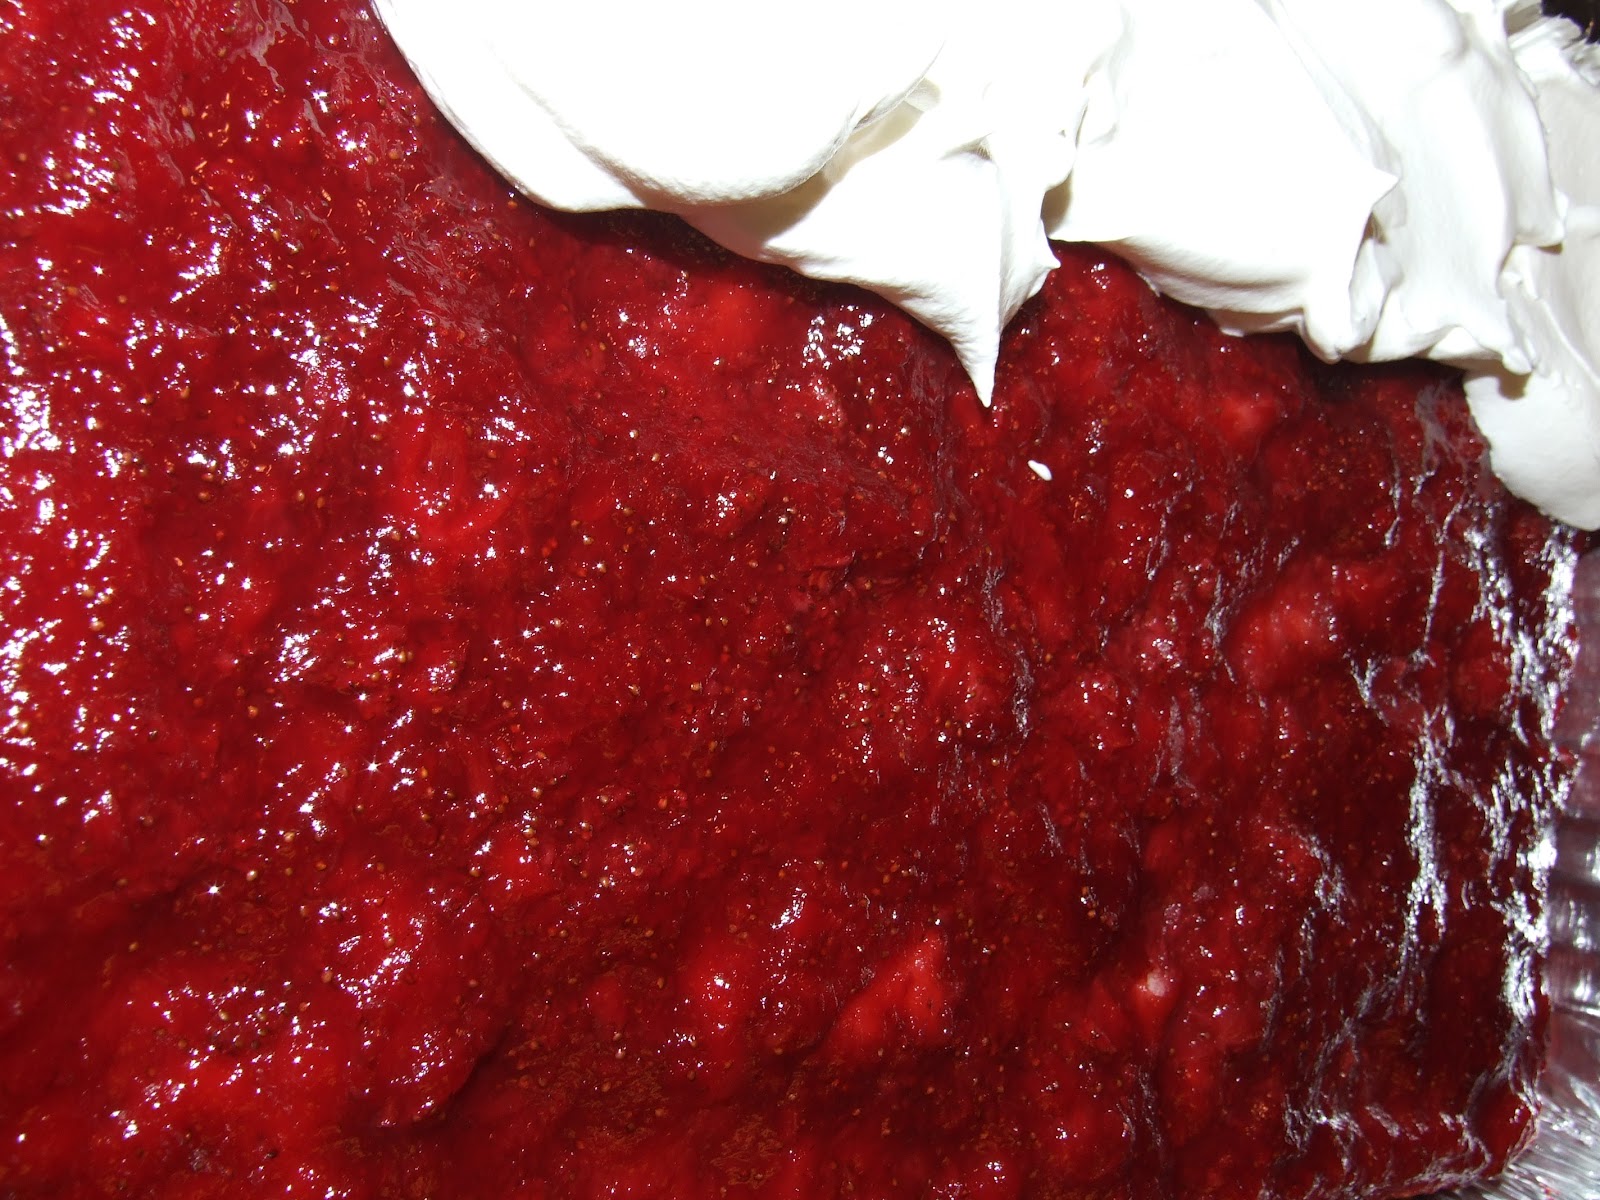
Take leaves off strawberries. Mash berries or pulse in a blender. Don't blend too much though: you do want some bigger pieces of berry left. Pour into a 13x9 pan. Spread evenly over bottom of pan.


Sprinkle dry jello mix over top of the crushed strawberries. Then top with marshmallows. (You don't really end up tasting the marshmallows, they kind of disintegrate, but they do add something nice to the texture). Pour cake batter on top of all this and bake for 40 or 50 minutes until a toothpick inserted in the center comes out with no cake batter on it.


When you pull the cake out of the oven, you'll want to flip it fairly soon or it will start to stick. First run a spatula around the outside edges. It's generally better to do it in one quick motion. Line the pan edges up nearest to you, and FLIP! If it doesn't look perfect, just give the pan a little jiggle and it should even things out.


Once the cake cools, spread with cool whip and refrigerate or freeze. This also covers any mistakes. :) Yummers! I also think this would be delicious with other fruits... blueberry, raspberry, even peach... If anyone tries it, you'll have to let me know!


It was almost gone before I could get a picture!

Friday, June 29, 2012

Strawberry Blitz

Strawberry season 2012, how I will miss you... *sigh*


Several years ago I learned about making strawberry freezer jam. I was really drawn to this because I love the flavor of fresh fruit but don't have the patience for cooked jams and jellies. Every Spring and Summer since then I've made at least a little freezer jam. Sometimes it turns out just right, sometimes it's too runny, but it always tastes sooo good! So, I wanted to share with you some of the things I've learned along the way.


My favorite brand pectin to use is Sure Jell Certo fruit pectin. It is incredibly easy to use. The pectin is already a gel so it combines easily with the fruit. Here is their recipe. 


* 2 cups smashed strawberries (this is jam, so you do want some bigger pieces left)
* 4 cups sugar, measured in a separate bowl
* 3/4 cup water
* 2 Tbsp lemon juice

* 1 packet of Certo Fruit Pectin

**Rinse 5 (1-cup) plastic containers and lids with boiling water. Dry thoroughly. Stem and crush strawberries thoroughly, 1 cup at a time. (It usually takes me about 4 cups or 1 quart of berries to equal 2 crushed.) Measure exactly 2 cups prepared fruit into large bowl. Stir in sugar. Let stand 10 min., stirring occasionally.

**
Mix 1 pouch CERTO Fruit Pectin and 2 Tbsp. lemon juice in bowl. Stir into fruit mixture in large bowl. Continue as directed. Makes about 4 (1-cup) containers. 


A few times I have tried using 2 different jam recipes and combining them. That was when I tried the strawberry kiwi jam.That didn't turn out so well. The flavor was amazing, but it was definitely sauce and not jam. It was very runny. Another time I made strawberry blueberry with blueberries that were just a little past their prime: not good either. They weren't juicy enough, and the jam was way too thick. There doesn't seem to be much wiggle room when working with pectin. 
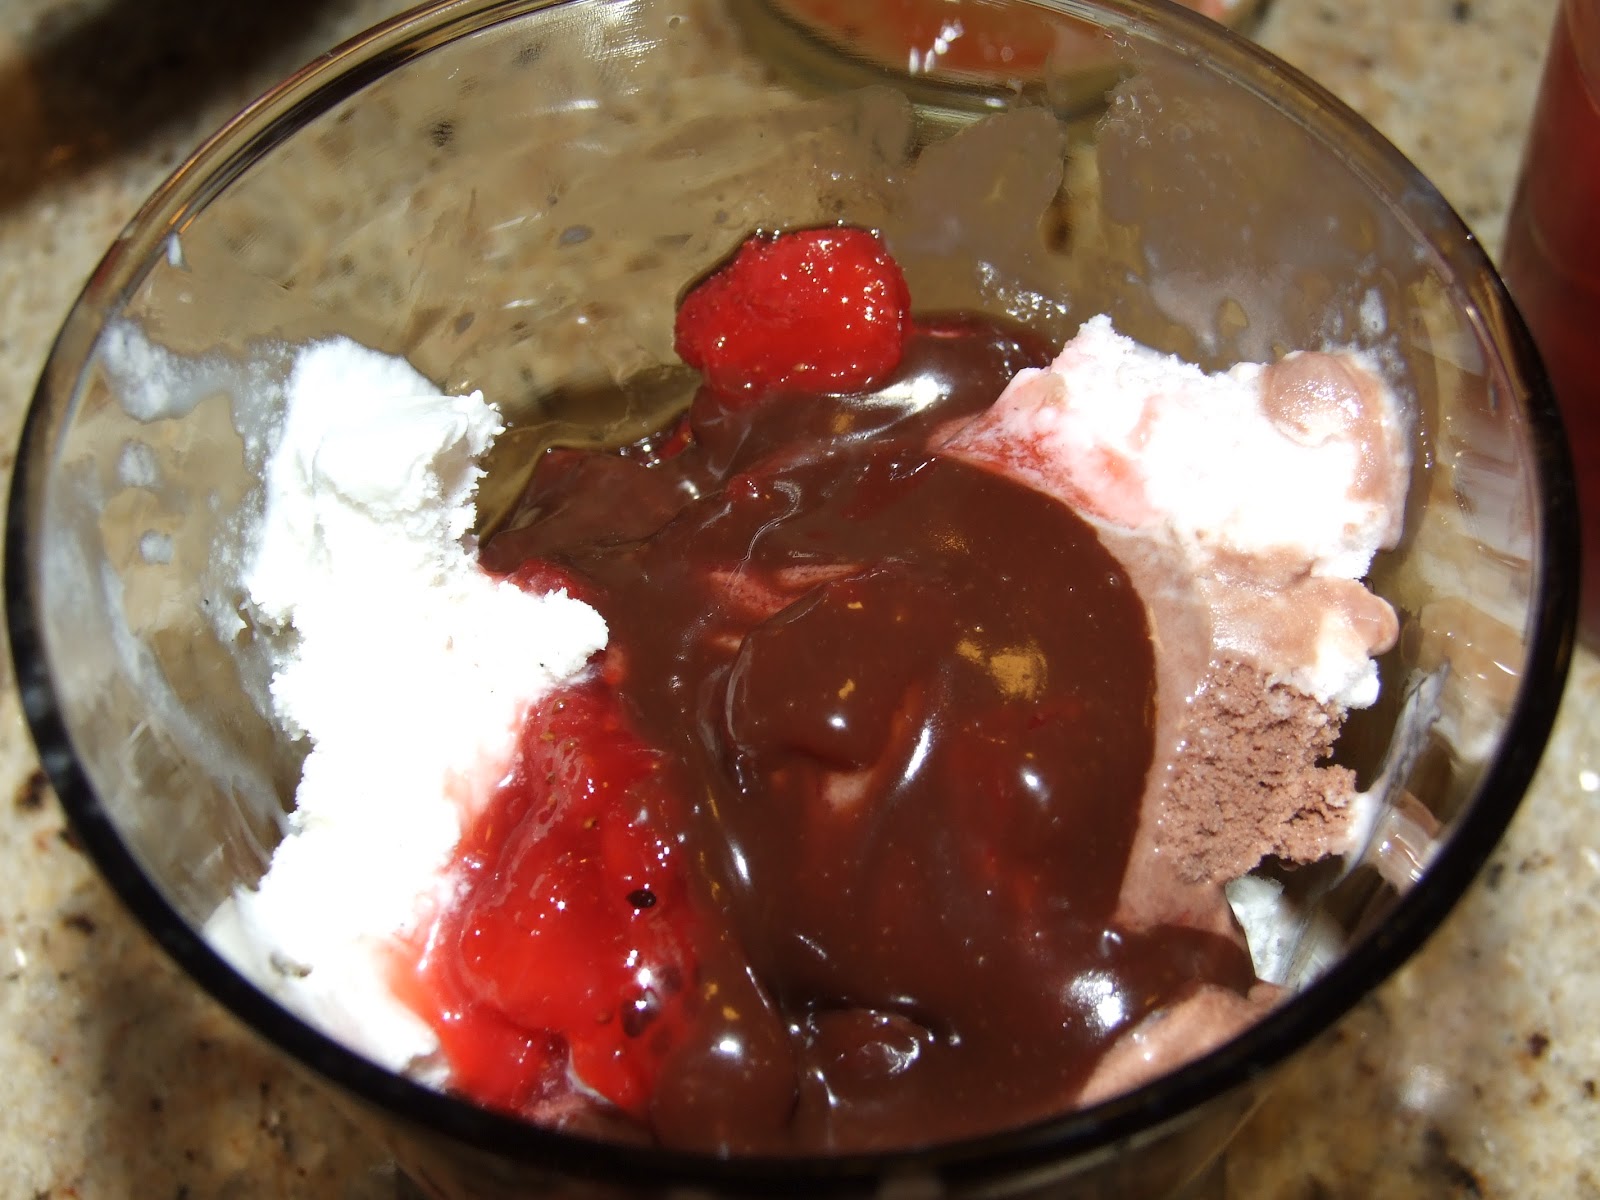
You can always make ice cream topping out of runny jam like I did with my strawberry kiwi jam. Strawberries and chocolate sauce - YUM!


This is definitely the easiest jam recipe I have made thus far, and the one that always seems to come out just right. I hope you try and enjoy it!


I also made a really awesome Strawberry Upside Down Cake.... but you'll just hafta wait for that one til next time!


Friday, June 1, 2012

Herb-alicious

I really love fresh herbs and my favorite has got to be cilantro. But to my surprise it seems to be pretty divisive. It seems like people either love it or hate it, there isn't much in between. However I cannot seem to grow it for some reason. I have tried on multiple occasions, and it just does not love me as much as I love it!

I did see a really cool idea on pinterest this year, to use a shoe organizer to grow your herbs. I just had to try it, and it was beautiful at first. (my computer is broken, or I'd have more pix). Everything was growing nicely, even what I planted from seeds! And then... We went away for a long weekend... However it was over 85 degrees all 3 days we were gone. My poor little plants didn't stand a chance. I watered everything really well before we left, but they weren't able to hold much water and I just couldn't revive them. :( I was able to save (no, not my cilantro! Poo!) my basil. I have a beautiful display of regular and Thai basil on the back porch now. I also have some oregano left and I'm taking another stab at cilantro.

SO, learn from my TRIAL and error! I do love the idea of using the shoe bag for growing herbs, especially if you have limited space. The downside is that it's not able to retain much water (great for herbs in general as they hate wet feet), just be sure if you're going to be gone for more than a day or two that you have a friend give your babies a drink of water! Have a great day!